A gentle introduction to repotting
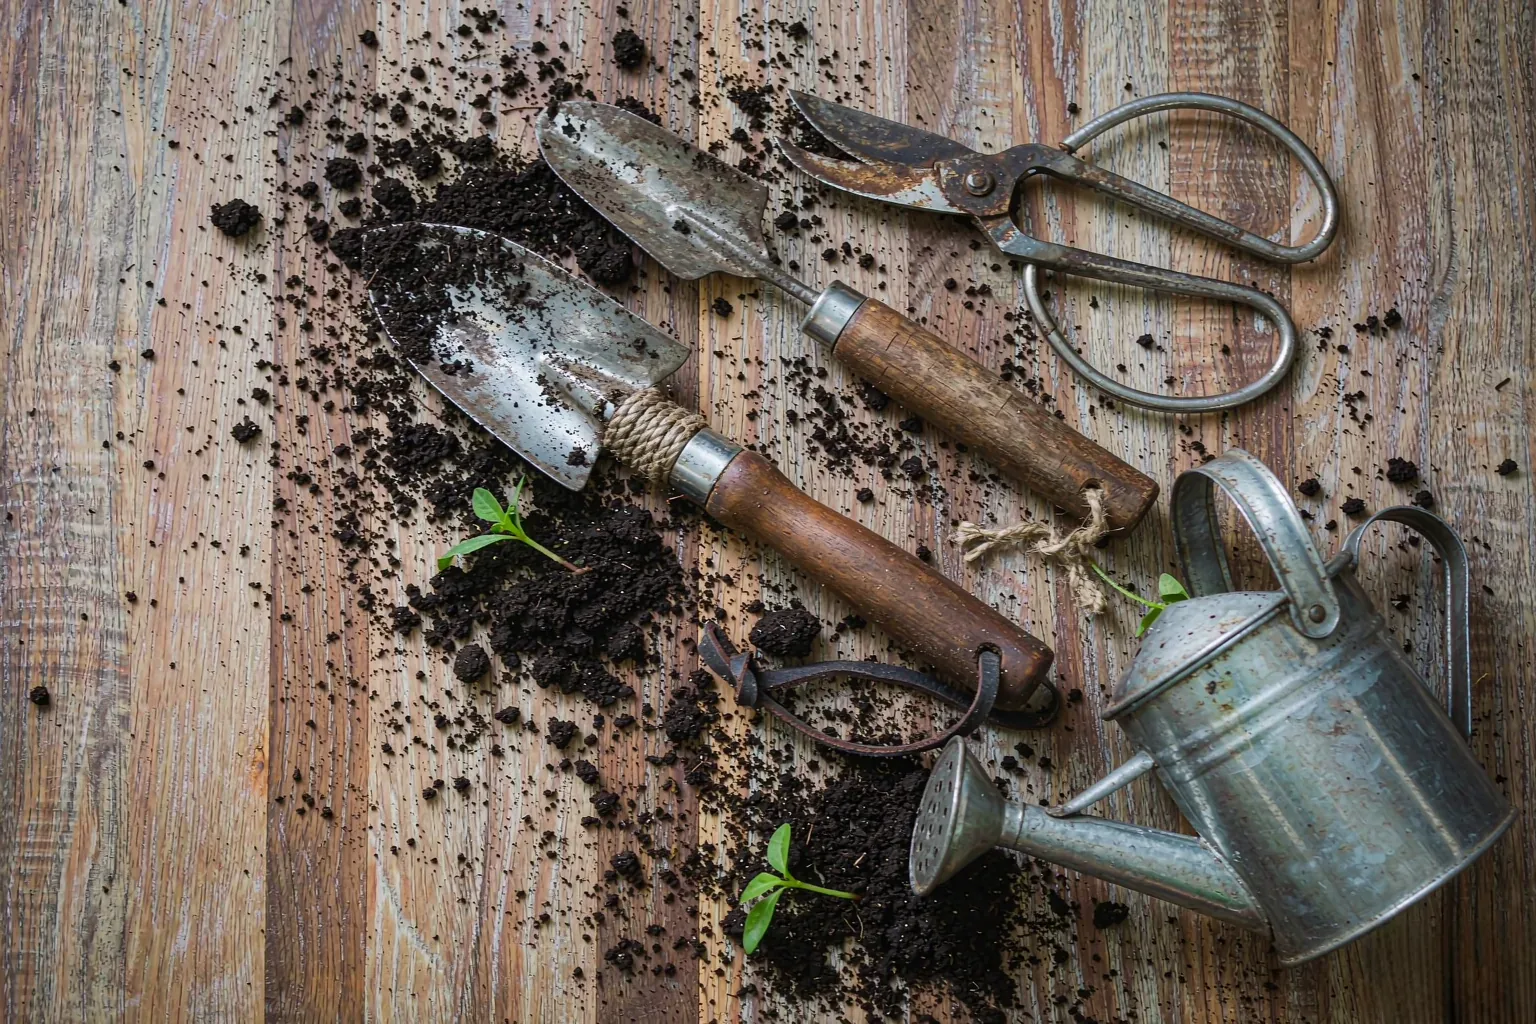
Repotting sounds more alarming than it is. Done at the right time, with the right pot, it's a straightforward refresh that gives a plant room to grow and fresh soil to feed on. Here's how we do it at the shop.
When to repot
Spring is the safest time for most plants, just as active growth begins. Signs that a plant is ready include roots poking out of the drainage holes, soil that dries out very quickly, a plant that's top-heavy, or growth that has simply stalled during its growing season.
Don't repot a plant that's flowering, struggling with pests, or freshly bought. Give a new arrival a couple of weeks to settle first — it's already dealing with a change of home.
What you'll need
- A new pot just one size bigger (about 2–4 cm wider). Going too big is a common mistake — the extra soil holds water the roots can't use, which invites rot.
- Fresh, good-quality potting mix suited to the plant.
- A trowel or an old spoon, and something to gently loosen the root ball.
- A saucer, and ideally a bucket or sink for the messy bit.
The steps
Water the plant a day before. A slightly damp root ball holds together and comes out more easily. Tip the pot on its side, support the plant at the base, and gently ease it out — don't yank it by the stem.
Tease apart the roots at the edges with your fingers or a fork, especially if they've started circling the pot. Trim away any dark, mushy or dead roots with clean scissors. Add a layer of fresh mix to the new pot, set the plant in so it sits at roughly the same depth as before, and fill around the sides, firming gently to remove air pockets.
Water it through once after repotting, then let it settle in a spot out of harsh direct sun for a week or two. A little drooping afterwards is normal; it'll perk up as the roots settle into their new space.
That's really all there is to it. The first time feels fiddly, the second time is easy, and after that you'll wonder what the fuss was about. If you'd rather watch someone do it first, we're happy to talk you through it in the shop.